Mastering Shooting Star Time Lapse Photography
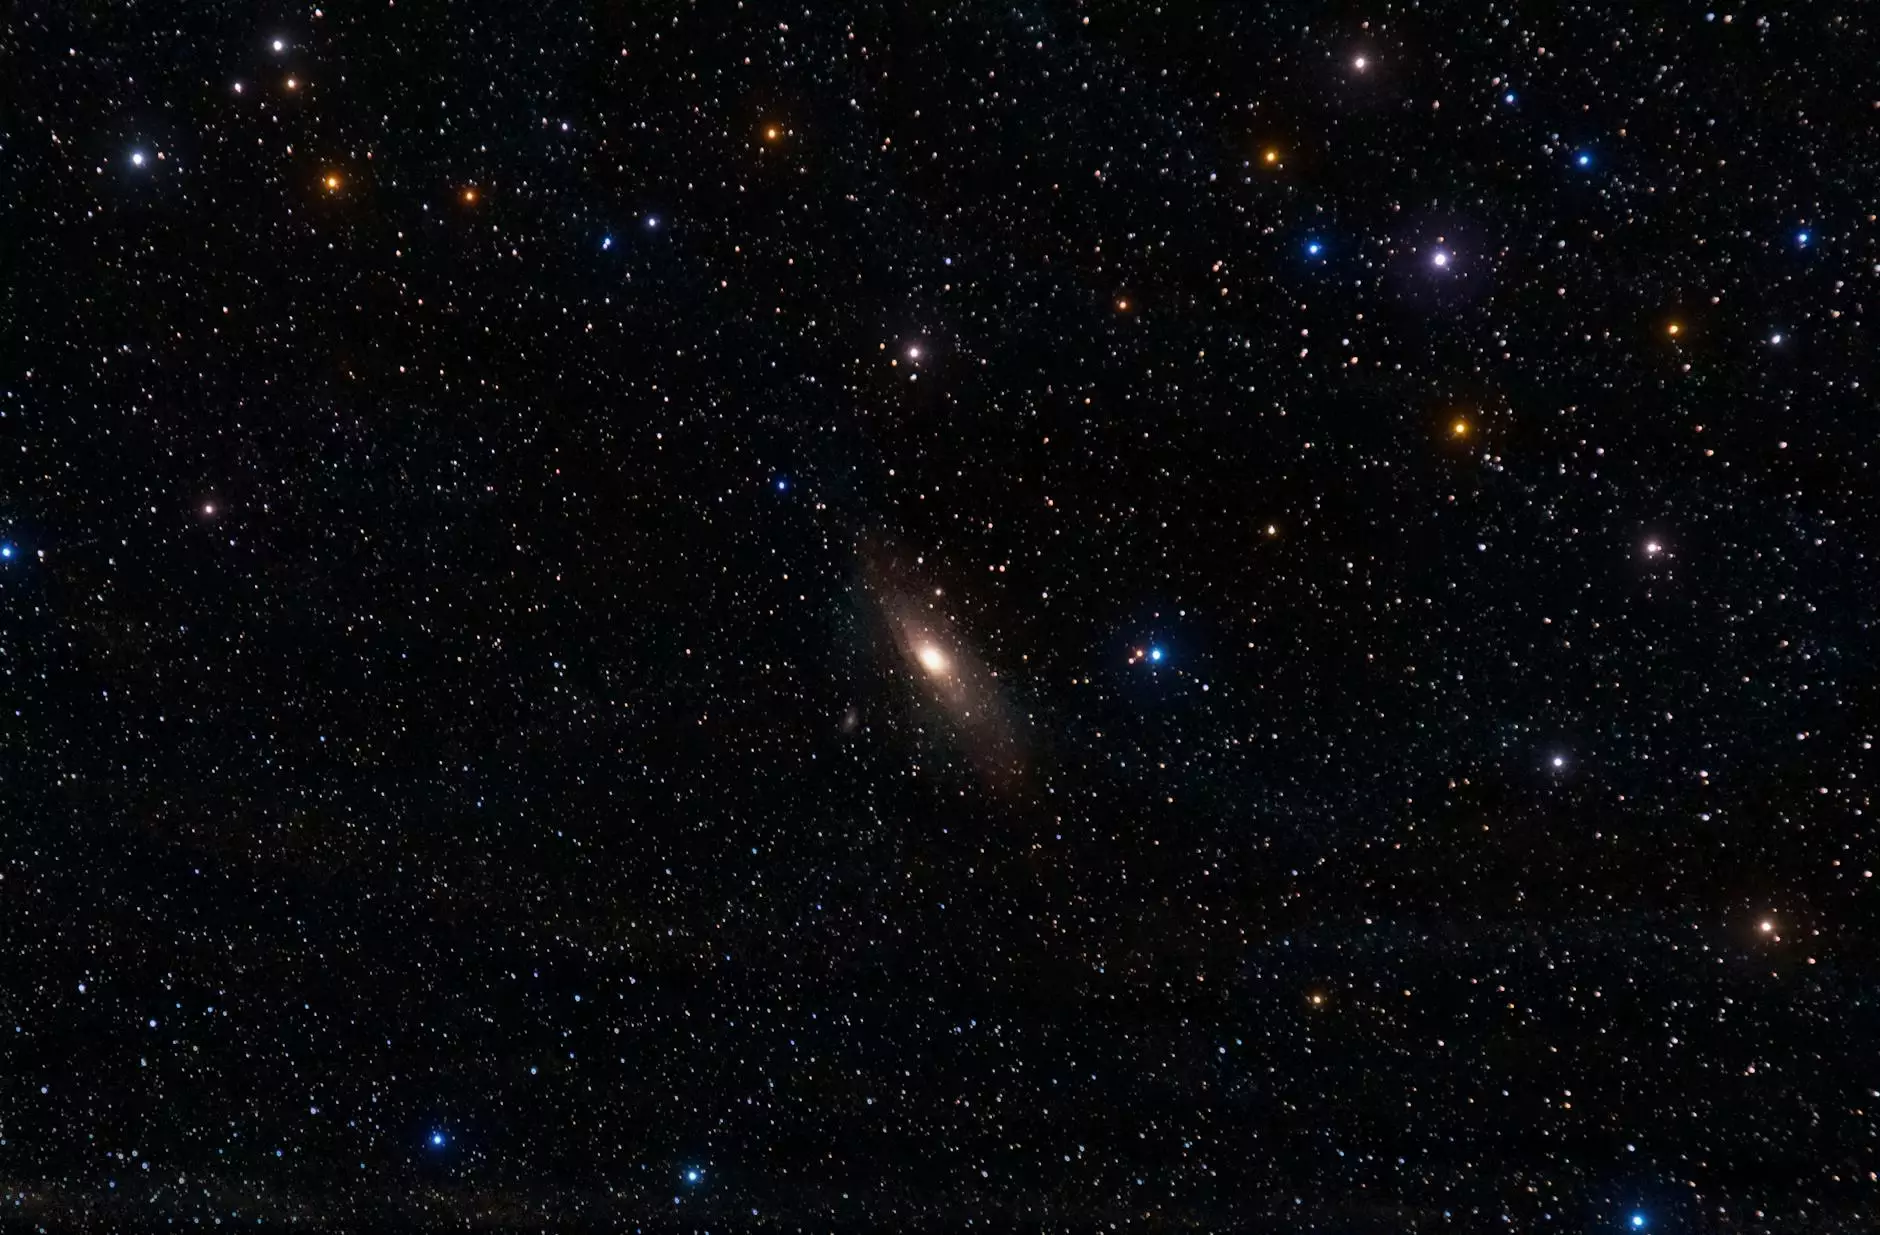
The night sky holds a certain mystery and beauty that captivates audiences around the world. Among its many wonders, shooting stars have always ignited the imaginations of photographers and dreamers alike. Shooting star time lapse photography captures the fleeting beauty of these celestial events, allowing us to enjoy these magical moments in a far more profound way. In this article, we will explore the art and science behind time lapse photography, specifically focusing on how to effectively capture shooting stars, as well as tips and tricks that will help you create breathtaking video sequences.
Understanding Time Lapse Photography
Time lapse photography is a technique that involves taking a series of photographs at set intervals to record changes that take place slowly over time. The resulting sequence is then played back at a higher frame rate, creating the illusion of time moving faster. This technique is particularly effective for capturing natural phenomena like sunsets, plant growth, and indeed, the dazzling display of shooting stars.
Why Shoot Shooting Star Time Lapse?
Shooting stars, or meteors, are a captivating subject because they are fleeting. They appear suddenly and vanish just as quickly, making them a perfect focal point for time lapse photography. When you combine the continuous movement of the night sky with the sharp, bright streaks of meteors, you create a visually striking piece of art that tells a story of the universe in motion.
Benefits of Shooting Star Time Lapse Photography
- Incredible Visuals: The contrast between the dark sky and bright meteors creates mesmerizing visuals.
- Engagement: Time lapse videos capture viewers' attention and leave them in awe.
- Educational Value: It can inform viewers about celestial events and enhance their appreciation for the night sky.
- Personal Satisfaction: Successfully capturing shooting stars is rewarding, and sharing your work can inspire others.
Preparation for Shooting Star Time Lapse Photography
Capturing stunning shooting star time lapse footage goes beyond just pointing your camera at the sky. Proper preparation is crucial to ensure you nail those cosmic moments. Let's break down the steps you need to take.
Choosing the Right Equipment
To get the best results in your shooting star time lapse endeavor, you will need the right gear, including:
- Camera: A DSLR or mirrorless camera with manual settings is ideal. These cameras provide the best control over exposure and focus.
- Lens: A wide-angle lens with a large aperture (f/2.8 or lower) will help you capture more light and provide a broader field of view.
- Tripod: A sturdy tripod is essential for stability, especially for long exposures.
- Remote Shutter Release: This minimizes camera shake when taking pictures.
- Intervalometer: If your camera does not have built-in time lapse functions, an intervalometer will allow you to set the interval between shots.
Finding the Perfect Location
The location you choose for photographing shooting stars significantly impacts the outcome. Here’s what you should consider:
- Light Pollution: Choose a location far from city lights. Dark sky sites provide the best conditions for stargazing.
- Weather Conditions: Clear skies without clouds are essential for visibility. Check weather forecasts and pick a night with minimal cloud cover.
- Accessibility: Ensure your chosen spot is easy to access, especially if you plan to spend several hours there.
Timing Your Shooting Star Observation
Knowing when to shoot is as crucial as knowing where to shoot. Shooting stars are often associated with meteor showers, which occur at specific times of the year. Some popular meteor showers include:
- Perseid Meteor Shower: Peaks around August 12-13.
- Gemini Meteor Shower: Peaks around December 13-14.
- Quadrantids Meteor Shower: Peaks around January 3-4.
Research these events and plan your photography sessions accordingly to maximize your chances of capturing spectacular meteors.
Setting Up Your Camera for Shooting Star Time Lapse
The next step after your preparation is to set your camera settings correctly. Here’s how you can do this:
- Mode: Set your camera to manual mode to have full control over exposure settings.
- Aperture: Use a wide aperture (f/2.8 or lower) to allow as much light in as possible.
- ISO: Start with an ISO of around 1600 to 3200. You may need to adjust it based on the lighting conditions. Higher ISOs introduce noise, so find a balance.
- Shutter Speed: Shutter speeds of 10 to 30 seconds are ideal. If using a longer exposure, be mindful of star trails caused by Earth’s rotation.
- Focus: Manually focus on a distant star or bright object, as autofocus may struggle in low light conditions.
Executing the Shooting Star Time Lapse
With your camera set up and ready, it’s time to capture the night sky. Here are the steps to follow:
- Set the Interval: Depending on how long you plan to shoot, set your intervalometer to take a photo every 5-30 seconds. The longer the duration, the more likely you are to catch meteors in your time lapse.
- Start Shooting: Begin your time lapse sequence and relax. Be patient as the universe does its work.
- Monitor Conditions: Check periodically to ensure your equipment is functioning correctly and adjust settings if necessary.
Post-Processing Your Time Lapse Sequence
After your shooting session, you will have hundreds or even thousands of images to sift through. Post-processing is where you can enhance your images and construct your time lapse video. Using software like Adobe Lightroom and Adobe Premiere Pro or Final Cut Pro, you can:
- Edit Images: Adjust brightness, contrast, and colors to make your images pop.
- Export Images: Export your images in a sequence for video compilation.
- Compile Video: Import your images into your video editing software and set the frame rate to 24 or 30 frames per second.
- Add Music and Effects: Consider adding music or sound effects to enhance the viewing experience.
Sharing Your Masterpiece
After perfecting your time lapse video of shooting stars, it’s time to share your work. An incredible way to showcase your creations is through online platforms that cater to photography enthusiasts. Platforms like YouTube, Instagram, and Vimeo are perfect for sharing time lapse videos and reaching wider audiences.
Tips for Successful Sharing
- SEO Optimization: Use relevant tags and descriptions that include keywords like "shooting star time lapse" to help your video reach more viewers.
- Engagement: Encourage viewers to like, share, and comment on your video.
- Join Communities: Connect with photography and astronomy communities online. Share your work and participate in discussions.
Conclusion: Capturing the Universe's Magic
Shooting star time lapse photography is not just about capturing footage. It's about experiencing the universe in a unique way and sharing that moment of beauty with the world. Whether you are a seasoned photographer or just getting started, the night sky offers limitless potential for creativity and expression. As you embark on your journey to capture the mesmerizing trails of shooting stars, remember to embrace the artistry and science behind it. Happy shooting, and may your captures illuminate the vivid tapestry of the night!